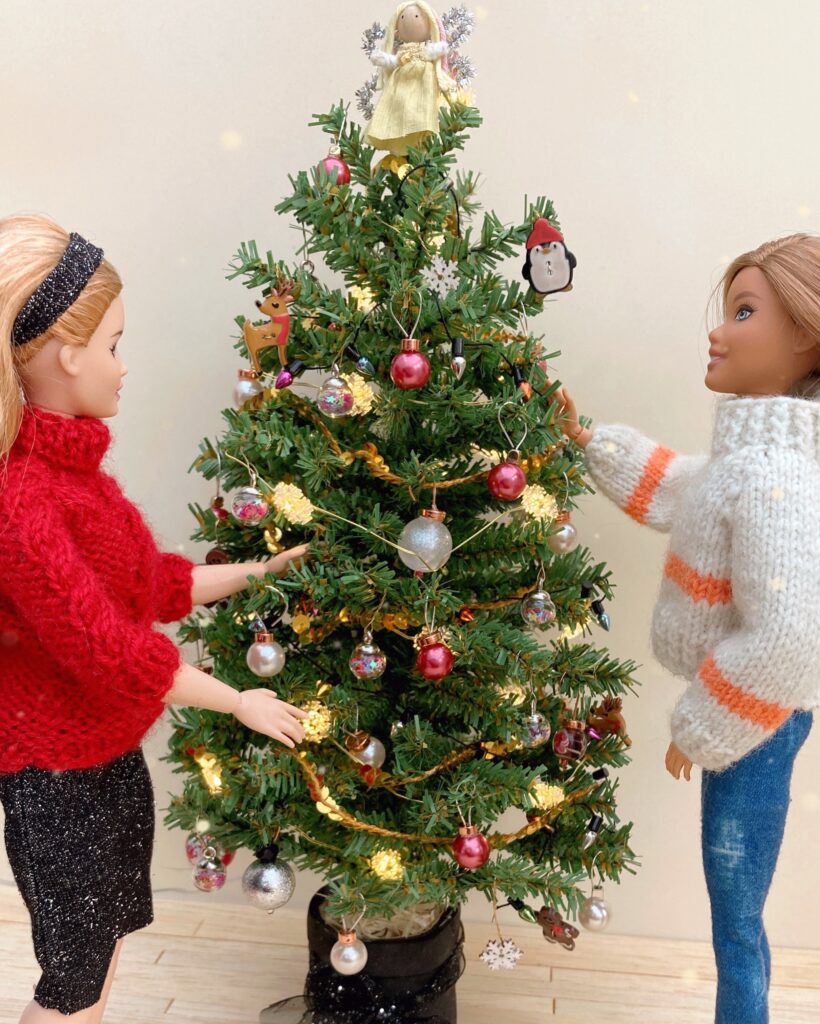
Do you love creating Christmas scenes for your Barbie or Sindy dolls, so they can gather round the Christmas tree and exchange gifts? This tutorial will show you how to make a perfectly scaled Barbie Christmas tree so you will have a fantastic centrepiece for your dolly Christmas celebrations. It’s easy to make and looks great when decorated and lit up! I just need some presents to go under the tree now – I’d better get shopping!
What you need:
Christmas Tree
- Christmas Tree Pipe Cleaners or similar (I used Habico brand ones, which come in packs of 10 from C&H Fabrics) – it took 5 packets
- 3/16″ width x 14″ length wooden dowel
- Glue gun
- Polymer clay or air drying clay for the base
- Craft foam and/ or cardboard for the pot
- Ribbon to decorate the pot
- Optional – gravel to help weigh down the pot
Decorations – suggestions
- 1/2″ Round beads to make baubles
- 1/4″ Flat circular beads in gold or silver for the top of the bauble
- Wire
- Flat Christmas buttons (under 1″)
- Wooden Christmas shapes (under 1″)
- Fairy – 1 pipe cleaner, scraps of fabric for dress, wool for hair, small wooden bead for head, tinsel pipe cleaner for wings, cream embroidery thread for wrapping arms
- Sequin trim (single strand)
- Fairy lights (2m length)
How to make the Christmas tree
Start by cutting your wooden dowel to 1″ less than the height of your finished Christmas tree. I wanted mine to be 14″ (35 cm) when finished so I cut my dowel to 13″.
Branches:
Next you need to cut and attach your branches to the dowel. Start by cutting a couple of pipe cleaners into 3″ lengths to make the branches for the bottom of the tree. Then cut 2 x 1″ lengths per branch. Glue the shorter lengths about 1″ from the end of the branch, either side – see photo below.

Bend the end of the pipe cleaner branch down by 1/4″. Mark 3″ from the end of the dowel – this is where your branches will start. Glue the branches around the dowel so they are evenly spaced in a circle (see image below). The arrangement of branches doesn’t have to be precise, as nature is not perfect!

Keep making and adding branches, making them slightly smaller as you move up the tree. When you have about 3″ of dowel left at the top of the tree, switch to single branches (approx. 1 1/4″ lengths) without the extra pieces added (see image below). The higher branches look best angled upwards, and make sure there is one vertical branch at the top of the tree for your tree topper.

Base:
When you’ve finished all of the branches, make a base for the tree out of polymer clay or air drying clay. It needs to be wide enough so the tree doesn’t fall over (at least 2″ at the base). You could also use a small flower pot or miniature bucket, filled with clay. Push the dowel into your base until it hits the bottom, then bake or leave to dry (according to packet instructions).
When dry, insert the dowel into the hole in the base, and hopefully your tree will stand up!

Pot:
To make the pot, cut a rectangle of craft foam 2″ x the circumference of the base at it’s widest point + 1/4″ overlap. Cut a 1/2″ strip of craft foam and place on top of the rectangle you have just cut. Trim to fit and glue in place. Glue the pot in place around the base (you may need to use an elastic band whilst the glue dries) and decorate with a ribbon. To make it heavier, I filled the rest of the pot up with gravel and added glue to to keep it in place, then decorated with shredded paper.

How to make the tree decorations

You can get creative with your decorations but I’ve suggested a few ideas to get you started. The best thing to do is to visit craft stores and find things like wooden card toppers, charms, buttons, tinsel trim etc, that can be turned into decorations. For a tree this scale stick to decorations under 1″ in size. Otherwise, anything goes! Use wire to make hooks.
The baubles are made using a round and a flat bead threaded onto a head pin. Add a dab of glue between the beads. The head pin is then twisted into a loop.

Buy some wire fairy lights (2m length will be sufficient) – I liked these cute snowflake ones from Paperchase – to add some sparkle to your tree.
To make a tree topper fairy, bend a pipe cleaner into a person shape and glue a wooden bead to the neck. Wrap embroidery thread around the arms and neck to cover the pipe cleaner.

Make a little dress using scraps of fabric, felt or tulle. Make wings using a silver or gold tinsel pipe cleaner and glue to the back of the dress. Cut strips of wool for the hair, sew together in the centre then glue to the top of the head. Use a pencil to dip in black acrylic paint then use to dot two eyes. I used paint for the eyes as pen can run.


I hope you’ve enjoyed creating your tree and decorations! Check out my Pinterest boards for more Christmas inspiration and watch this space for more Christmas dolly crafting and sewing.
Claire
I like sharing my DIY tutorials for free, but if you want to say thank you then please buy me a coffee!

