
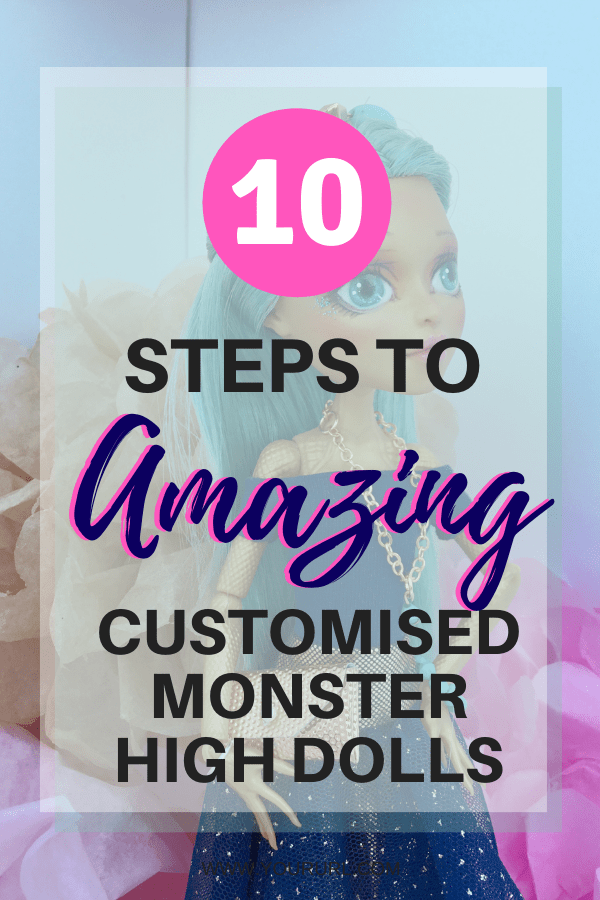
I love watching YouTube videos of doll artists customising dolls, but if you’re a beginner like me, it can be hard to follow and see exactly how the face is drawn onto the doll. I’ve shared step by step photos of my latest custom doll to create a simple guide to help you with your next customising project.
Step 1 – choose and buy a doll in need of love
There are lots of options for dolls to customise and I covered where to find Monster High dolls in my last post. I’ve also seen customised Ever After High dolls and Barbie dolls. It depends on the type of doll you want to create. I like the elegant proportions of the Monster High dolls and the challenge of working with a gold skin colour, so I chose a Jinafire Long Doll found on EBay for this project.
Decide if you are going to do a re-root before you buy your doll as some will have nicer hair than others. Some Monster High dolls can get glue hair – it seeps through from inside the head. It can be treated by brushing in talcum powder, leaving for a bit, then washing out – but in my experience it still ends up a bit gluey.

Step 2 – get some awesome inspiration
I’m a big fan of Pinterest and you can’t beat it when you need lots of beautiful images to inspire a project. Create a board for your project and then get pinning. I found images of colours, vibrant hair, beautiful sparkly dresses, gold eye makeup and pretty tiaras for my Jinafire Board.


Step 3 – re-do that hair-do
Re-rooting a doll is very satisfying – as it really transforms the doll. I did get some strange looks from my Hubby when I started; because a doll head on a stand does look slightly creepy, but it didn’t stop me! Click here for instructions on how to re-root; I chose this pretty pale turquoise hair for my doll. You’ll need to remove the head and clean the factory paint off – see here for tips and materials for this part.


Step 4 – let the make-over begin
Before the fun part, you need to prepare the face with sealant. Wrap up your beautiful new doll hair in a cloth to stop it getting ruined. It’s also a good idea to wrap up the doll’s body. To seal the face I use ‘Mr Super Clear Matt’ and spray two or three coats. Leave it to dry in between coats. This step is important to give you a good base to add your colour to. Use sealant as your work progresses – this means you can add more depth to the colours. I sealed after each photo below.
Step 5 – start drawing features
Start by drawing outlines for the eyes, eyebrows and eye creases. Use a light brown pencil and sketch lightly. Don’t use black as it is too dark and you won’t be able to cover it up easily. Try and make sure everything is the same on both sides and the pupils face the same direction. I did one eyebrow higher than the other – it gave her a slightly quizzical expression!

Step 6 – colouring in!
Next, using pencils, start colouring in the irises and white of the eyes. Start adding colour to the lips with a darker pink or red in the creases. Add blush to the cheeks and eyelids using pastel applied with a small brush. You can build this up in layers at each stage. Seal.

Step 7 – adding more colour and detail
Next, add more detail to the features. Build up the colour. Add more white to the whites, using grey at the top to add some shadow. Use a darker shade of the eye colour around the outside of the iris. Start adding the pupil using a dark grey pencil. Colour the lips with a darker colour in the crease and lighter on the outside. You can also use pastels to add colour to the lips. Add more blush and eyeshadow using pastel. Line the inside of the eyes with a pale pink and add white underneath. Add pink in the inside corner of the eyes. Seal your work.

Step 8 – extra details
You can now start adding detail to the eyebrows. Sharpen your pencils all the time so they are super sharp. Using a darker brown, draw fine lines over the line of the eyebrows. Add a darker line under the eyelid using dark brown.
Add more colour to the pupil, iris and white of eyes. You’ll see the intensity of colour builds up with each layer. Use a lighter colour at the bottom of the iris and darker at the top. Your strokes should go outward from the pupil to the edge of the iris.
Add light pink vertical lines on the lips to highlight and add depth. Seal again!

Step 9 – nearly finished
You’re almost finished now! Using dark brown, carefully draw the eyelashes on the top and bottom eyelids. You can also add extra colour to any features that need it. Seal again!

Step 10 – add some sparkle and shine!
Next add some sparkle to the iris. I used some pearlescent chalks with a tiny amount of water to add shimmer to the lower part of the iris. I’ve also used micro glitter which works okay. I added micro glitter under the eyes as you can never have too much glitter!
The next step is to add dots of white acrylic paint to highlight the eyes. I use a polymer clay tool with a small ball on the end to add the dots. Experiment first on paper with different tools – you could try a pencil or cocktail stick dipped in the paint. Seal again.
Finally, add some gloss to the eyes and lips using clear acrylic paint.

Dressing up…
My favourite part of customising is creating new outfits. If you’re not good at sewing, then you can buy Monster High clothes on EBay. I made this outfit using a clothes pattern by DG Requim on Etsy. It’s the Hi Lo Skirt Dress pattern for petite slimline fashion doll. I made the pencil skirt in gold to go underneath the sparkly netting skirt.
I used beads, gold chain and gold wire from Hobbycraft to make the accessories.


Top tip – buy children’s clothes in charity shops or in the sales and use them for fabric. The sparkly netting was from a girls dress in the sale at H and M.
Claire x


