

Every Barbie and Sindy needs a cute cropped t-shirt to go with jeans or a little pair of shorts. This one has contrast sleeves and a picture on the front. It’s short and sassy with raglan sleeves. As with most t-shirts, make it from a nice lightweight jersey fabric. As jersey can be tricky to machine sew, I like to make these t-shirts by hand sewing. If you’re not confident then use a thread which matches the jersey fabric and your stitching won’t show up.
The best thing is that the pattern is completely free to download. Just follow the instructions below. The t-shirt is designed to fit standard Barbie dolls and made to move Barbie. It also fits Sindy dolls.

What you need:
- Scraps of jersey in two contrasting colours – a pale color, like white works best for the main body of the t-shirt
- Matching thread in both colours
- Sewing needle
- Pins
- Hi tack Fabric Glue – handy but not essential
- Iron
- 2 snaps for the back closure or thin hook and loop tape
- A5 Avery Fabric Transfers for light cottons (unless you are using a dark main colour – in which case you’ll need the ones for dark fabric)
Download the pattern here:
And if you want to have a sea life themed design on your t-shirt, download this free A5 sheet with designs on, ready to use:
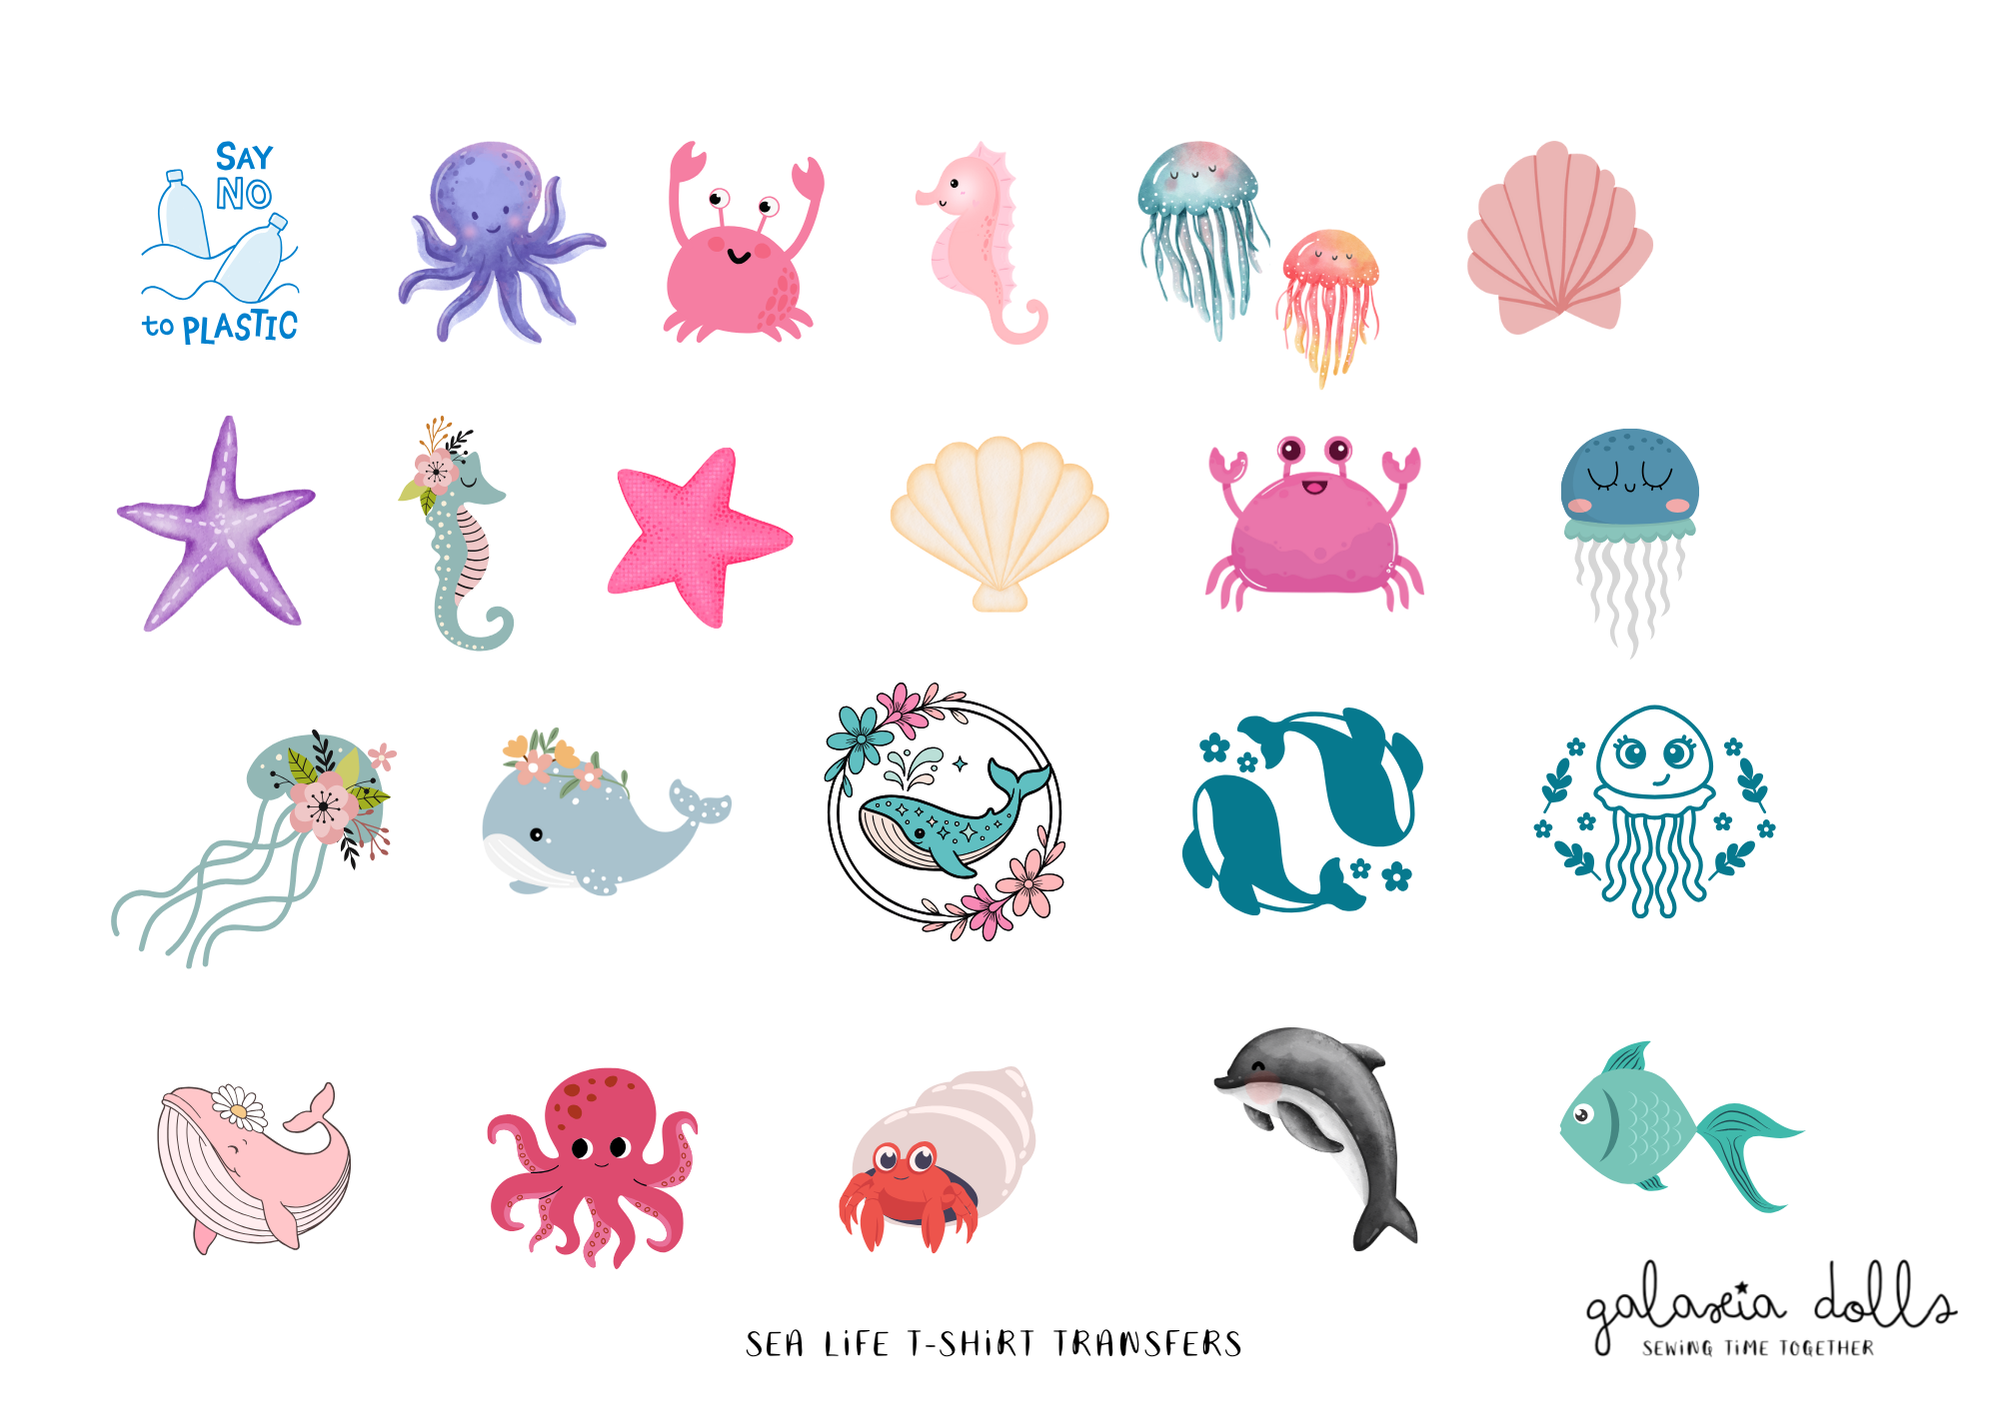

How to sew your t-shirt

Start by cutting out the pattern pieces along the solid lines. The dotted lines indicate where the seams or hems will go. The double ended arrows need to be in the same direction as the vertical lines on the front side of the jersey fabric. Pin your front and back pattern pieces to a double layer of main fabric, note that the front piece is lined up on the fold of the fabric. Next, pin the sleeves and neckband on the contrasting fabric, placing the neckband on the fold.
Press the hem of each sleeve up. Secure with a few dots of fabric glue. Topstitch close to the folded edge to hem each sleeve.


With right sides together, pin and sew each sleeve to the front piece armholes.
With right sides together, pin each back piece in place along the armhole of the sleeve. Press the seams open.


Pin the neckband in place around the neckline, right sides together. You may need to gently stretch the neckband. Sew along the edge of the neckband, about 5 mm from edge.
Trim the neck seam close to stitching line, this helps reduce bulk and width of the neckband.
Press seam away from main body of t shirt
Dot some glue on the wrong side of the neckline, then fold the neckband over to the back. If not using glue, then you will need to pin in place.


Sew round the neckline from the front, close to the bottom edge.
Press the neckband.
Glue the underside of the neckband down.
With right sides together, pin and sew both of the side seams, from the sleeve through to the hem.


Press the hem up and glue. Then sew, with right side facing up.
Try on your doll – you can adjust the fit with snap or hook and loop tape placement
Sew snaps or hook and loop tape to centre back to close.


Print the designs on to A5 transfer paper (making sure they are reversed so they print the right way round – if you use the Avery design software it will do this for you). Cut out your chosen design and iron onto the front of your t-shirt following instructions on packet.
And you’re done!! I love seeing what you all make, so use #galaxiadolls to tag your makes or tag me @galaxiadolls


