
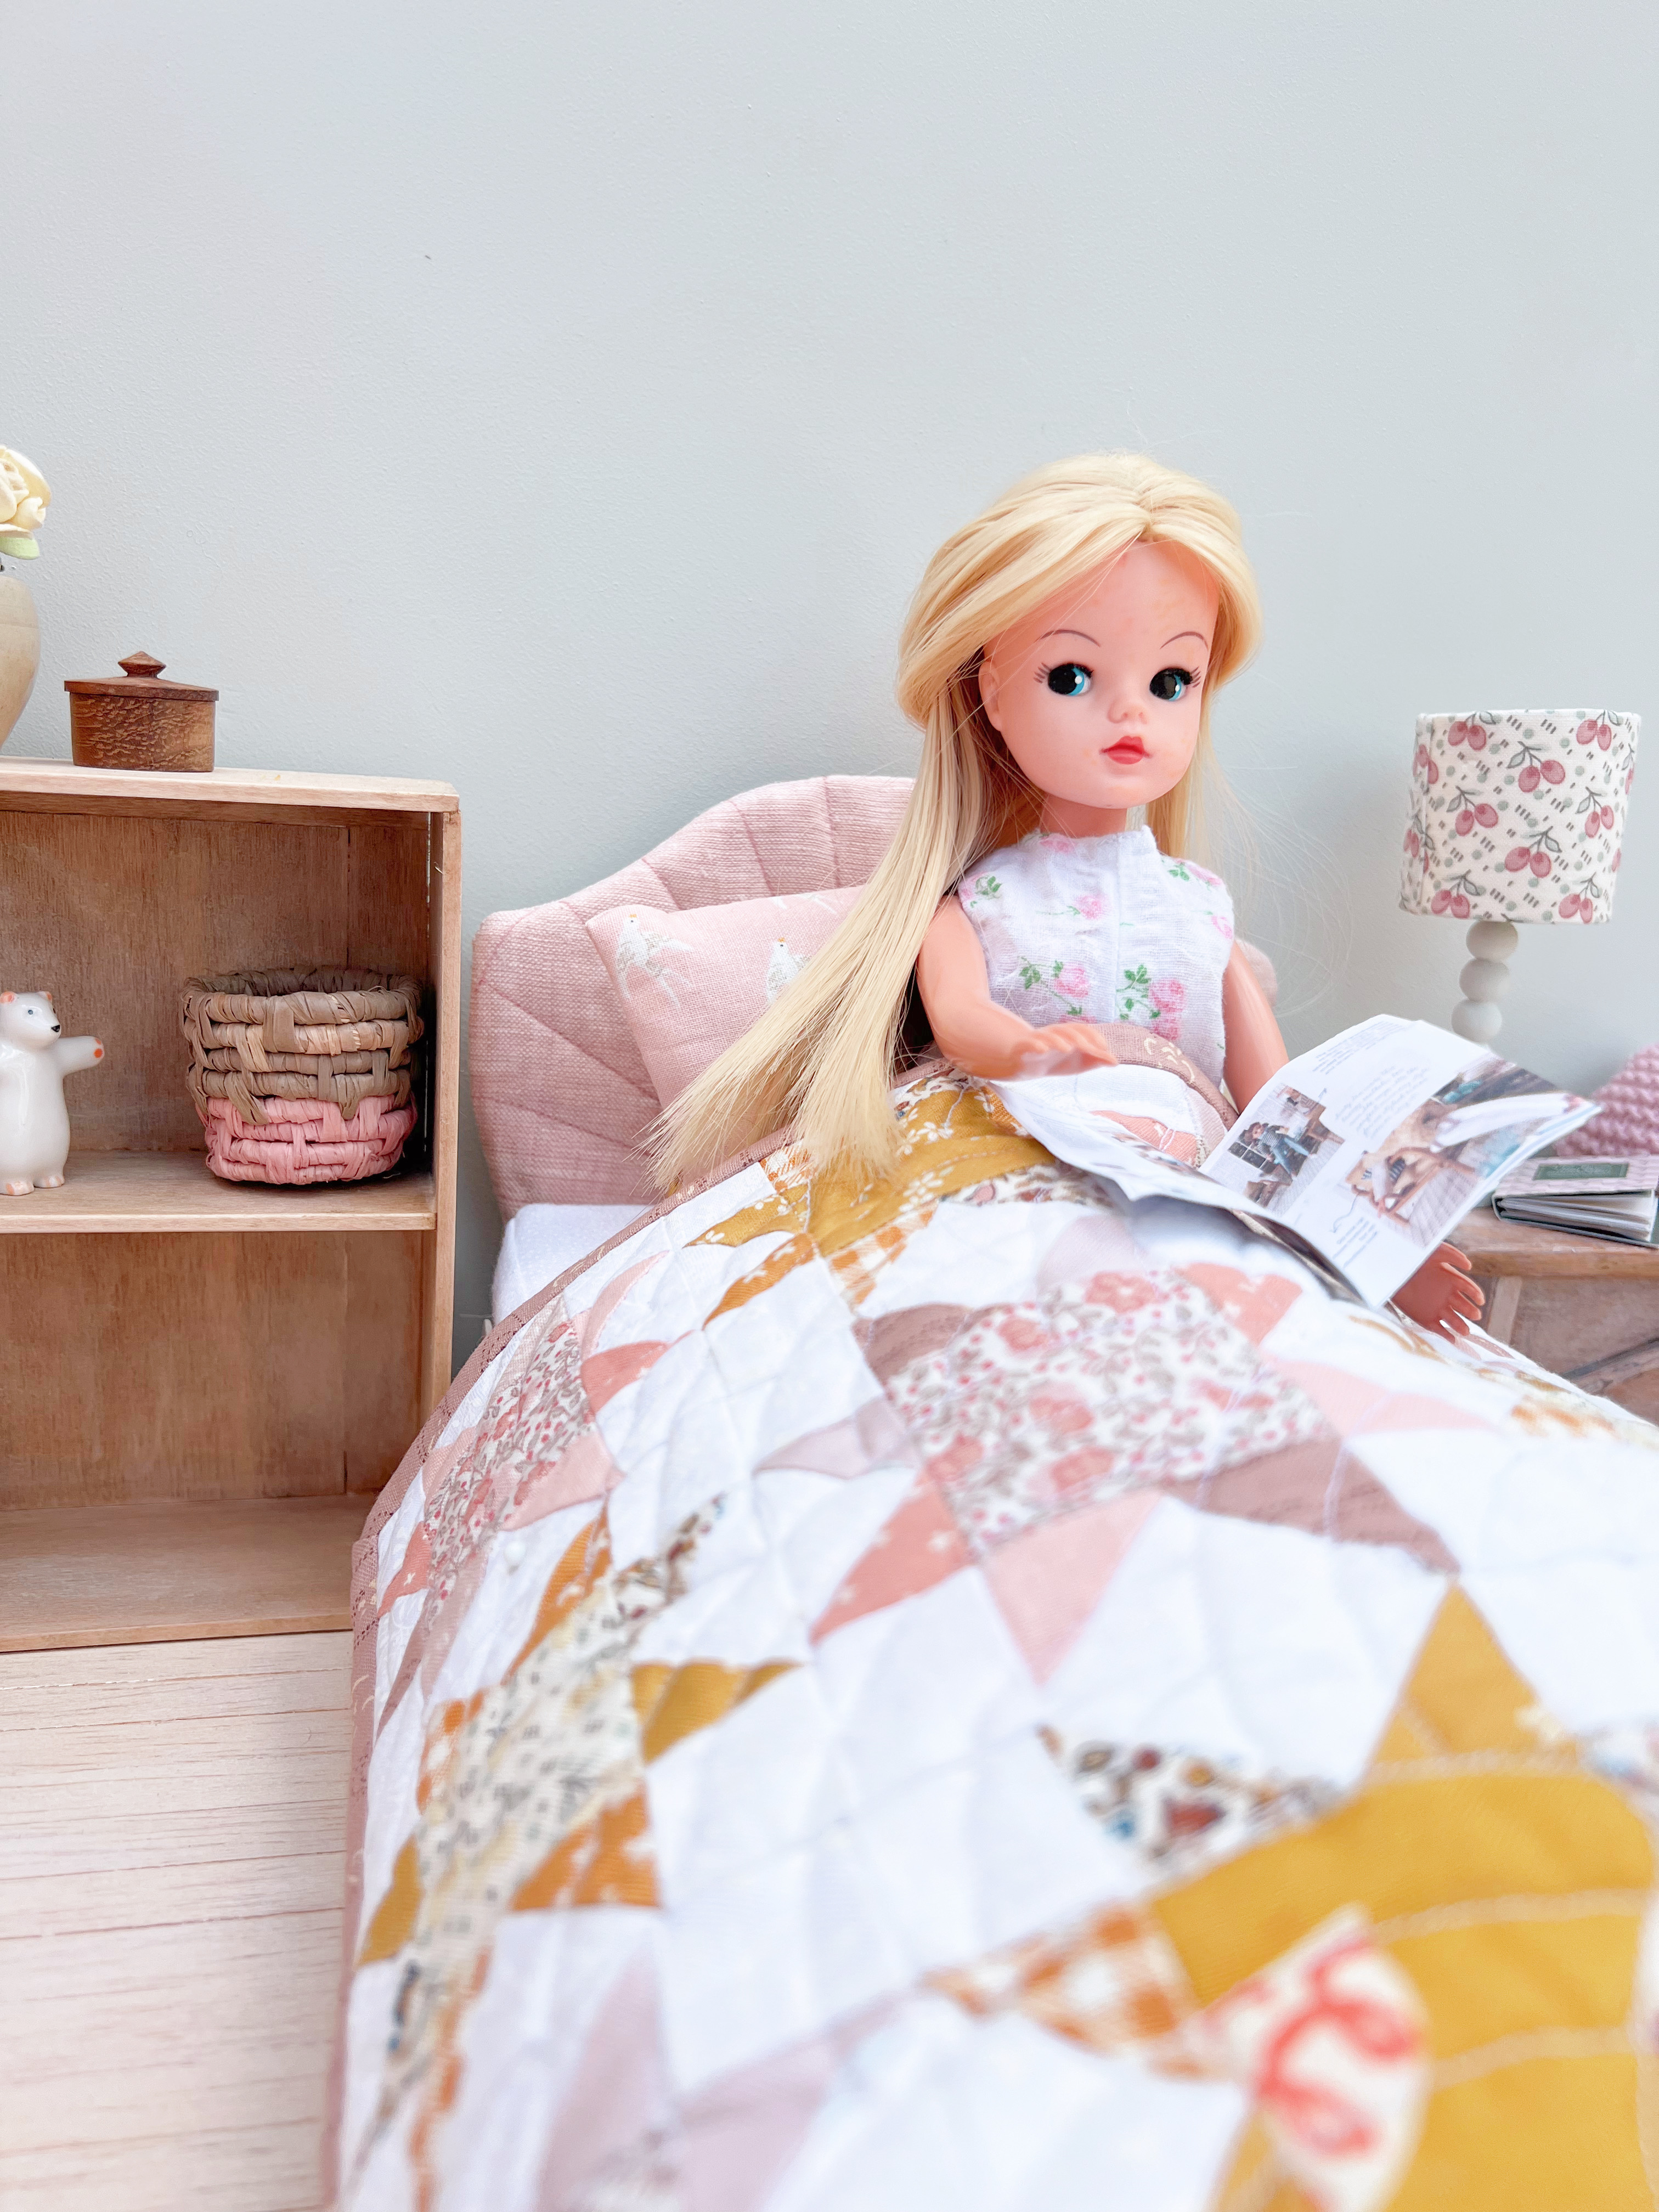
There’s something irresistible about a piece of vintage doll furniture with a story to tell. This Sindy bed came to me looking tired and a bit worse for wear, definitely not fit for a proper doll’s night’s sleep. But I could see that the headboard shape had potential and the rest of the frame could be easily hidden under a pretty quilt. The plastic covered mattress also had an upgrade as no-one should be sleeping on shiny squeaky plastic.
Today I’m walking you through how I gave this vintage bed a brand new headboard cover – using some cardboard, fabric, some patience, and a love for giving old things a new life. Whether you’ve inherited a Sindy bed of your own, have dug your old one out of the attic or picked one up at a car boot sale, this tutorial will show you how simple it is to give your vintage Sindy bed a modern dreamy new look.

What you’ll need
- Vintage Sindy bed
- Fabric scraps big enough to cover headboard front and back with extra fabric for folding over
- Fast tack or high tack fabric glue
- Quilt wadding scraps – same size as headboard x 2
- Thread to match fabric
- Sewing machine for quilting
- Cardboard – e.g. cereal or food packaging
- Heat erasable pen e.g. Frixon pen
- Ruler
- Fabric scissors or pinking shears
- Paper scissors
- Quilting pins – optional
Time needed: 1 hour and 30 minutes
How to make your covered headboard
- Measuring depth of headboard
Before removing the headboard from the bed, draw a mark on the headboard where the it meets the top of the mattress. This is where the headboard covering will end.
- Tracing headboard shape onto cardboard
Remove the headboard from the bed frame. Place it on top of the cardboard and trace around the headboard – but don’t go around the scrolls – go across. Draw a line across where you marked the base of the headboard in step 1. Cut out the shape and use it to trace a second cardboard headboard. Cut the second one out. Label one as ‘front’ and one as ‘back’.

- Preparing and cutting fabric
Press your fabric piece. Lay the cardboard back piece on top of the wrong side of your fabric. Use a fabric marker (one which disappears with heat rather than water – like the Frixon pens) draw a line 1 cm away from the cardboard, all of the way around. Repeat for the front piece but adding 1.5 cm to allow for wadding.

- Cutting out fabric
Cut out your front and back headboard fabric along the lines you have drawn. I used pinking shears to stop fraying – but not essential.

- Making the back headboard piece
Place your back cardboard onto the wrong side of your fabric. If you are using cereal packet cardboard, make sure that images are facing up – otherwise the pictures may show through your fabric. Use high tack or fast tack glue to stick the fabric to the cardboard, trimming any excess fabric at corners as you go round.

- Preparing the wadding
Use your cardboard front piece as a template to trace the shape onto the wadding. Cut out two layers of wadding.

- Marking the quilting lines
Find the middle of the headboard base and mark on the cardboard. Then draw lines in a fan shape onto the cardboard, with about 2 cm between the end of each line. Transfer the end points of each line onto the right side of your fabric using a head erasable pen. Connect the lines using a ruler – this will guide where you sew.

- Basting and quilting
Pin and baste/ tack (using quilting pins or hand tacking) the three layers together (2 wadding layers with fabric on top – right side up). Sew along each of the lines. Press.

- Layering the headboard pieces and joining
Lay the fabric headboard front piece face down. Place the plastic headboard on top (front facing down). Then place the front headboard cardboard on top – forming a headboard sandwich. Glue the fabric seam allowance to the cardboard.
- Attaching the headboard back
Glue the headboard back on top of the front cardboard piece, which will cover up all of the raw edges. Insert headboard back into the bed frame and you’re all finished!


And just like that, your unloved Sindy bed has gone from forgotten to fabulous. It’s amazing what a bit of fabric and a little time crafting can do – this bed went from being tired and plastic to taking pride of place in the bedroom scene.
Now that the headboard is sorted, there is just one more thing missing…a proper bed doesn’t feel complete without pretty soft bedding to snuggle into! If you’d like to keep the makeover going, hop over to my post on making doll bedding and a mattress from scratch – it’s the perfect next step to finish dressing your bed and making it fit for any Sindy doll princess.
Happy dolly sewing and crafting, and I’ll see you in the next post! Follow me on socials to see what I’m up to next.
Claire x
